Help:Images
This page will teach you how to upload images and insert them properly.
Uploading an image
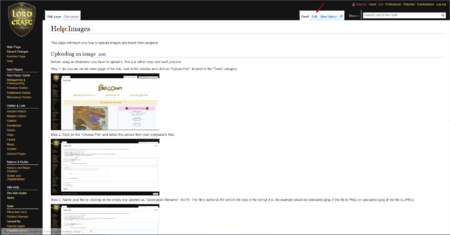
Before using an illustration you have to upload it, this is a rather easy and swift process.
Step 1: As you are on the main page of the wiki, look at the sidebar and click on "Upload File", located in the "Tools" category.
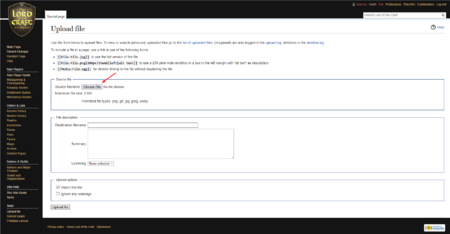
Step 2: Click on the "Choose File" and select the picture from your computer's files.
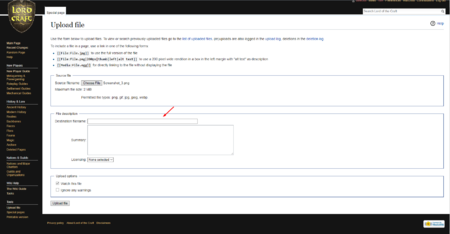
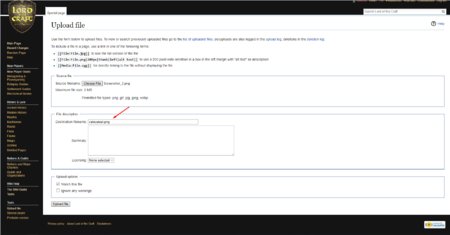
Step 3: Name your file by clicking on the empty box labelled as "Destination filename", NOTE: The file's name MUST end in the type of file format it is. An example would be valecutest.png (if the file is PNG) or valecutest.jpeg (if the file is JPEG).
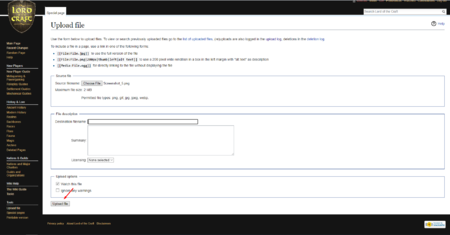
Step 4: And finally click on "Upload file".
Inserting an image
After successfully uploading an illustration you can insert it onto the page you wished to.
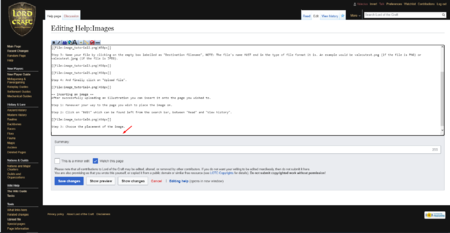
Step 1: Maneuver your way to the page you wish to place the image on.
Step 2: Click on "Edit" which can be found left from the search bar, between "Read" and "View history".
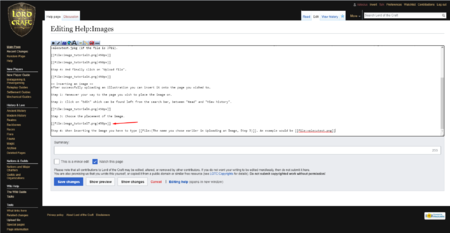
Step 3: Choose the placement of the image.
Step 4: When inserting the image you have to type File:(The name you chose earlier in Uploading an Image, Step 3). An example would be File:valecutest.png
